Radio Check Procedures for Emergency Communication
Two-way radios should be tested regularly to ensure they are working when needed. Without routine checks, problems such as dead batteries, incorrect settings, or poor signal quality may go unnoticed until an emergency occurs.
Simple radio check procedures help confirm that equipment is functioning and that communication can be established quickly.
Within a structured preparedness plan, radio checks are used to verify communication readiness. This guide outlines practical steps for testing radios, confirming connections, and maintaining reliable communication across your household.
Why Regular Radio Checks Are Important
Radio checks ensure that your equipment is functioning properly and that communication can be established when needed. Without routine testing, issues such as low battery, incorrect settings, or signal problems may go unnoticed.
Regular checks also help confirm that all household members can use the radios correctly and are familiar with basic communication procedures.
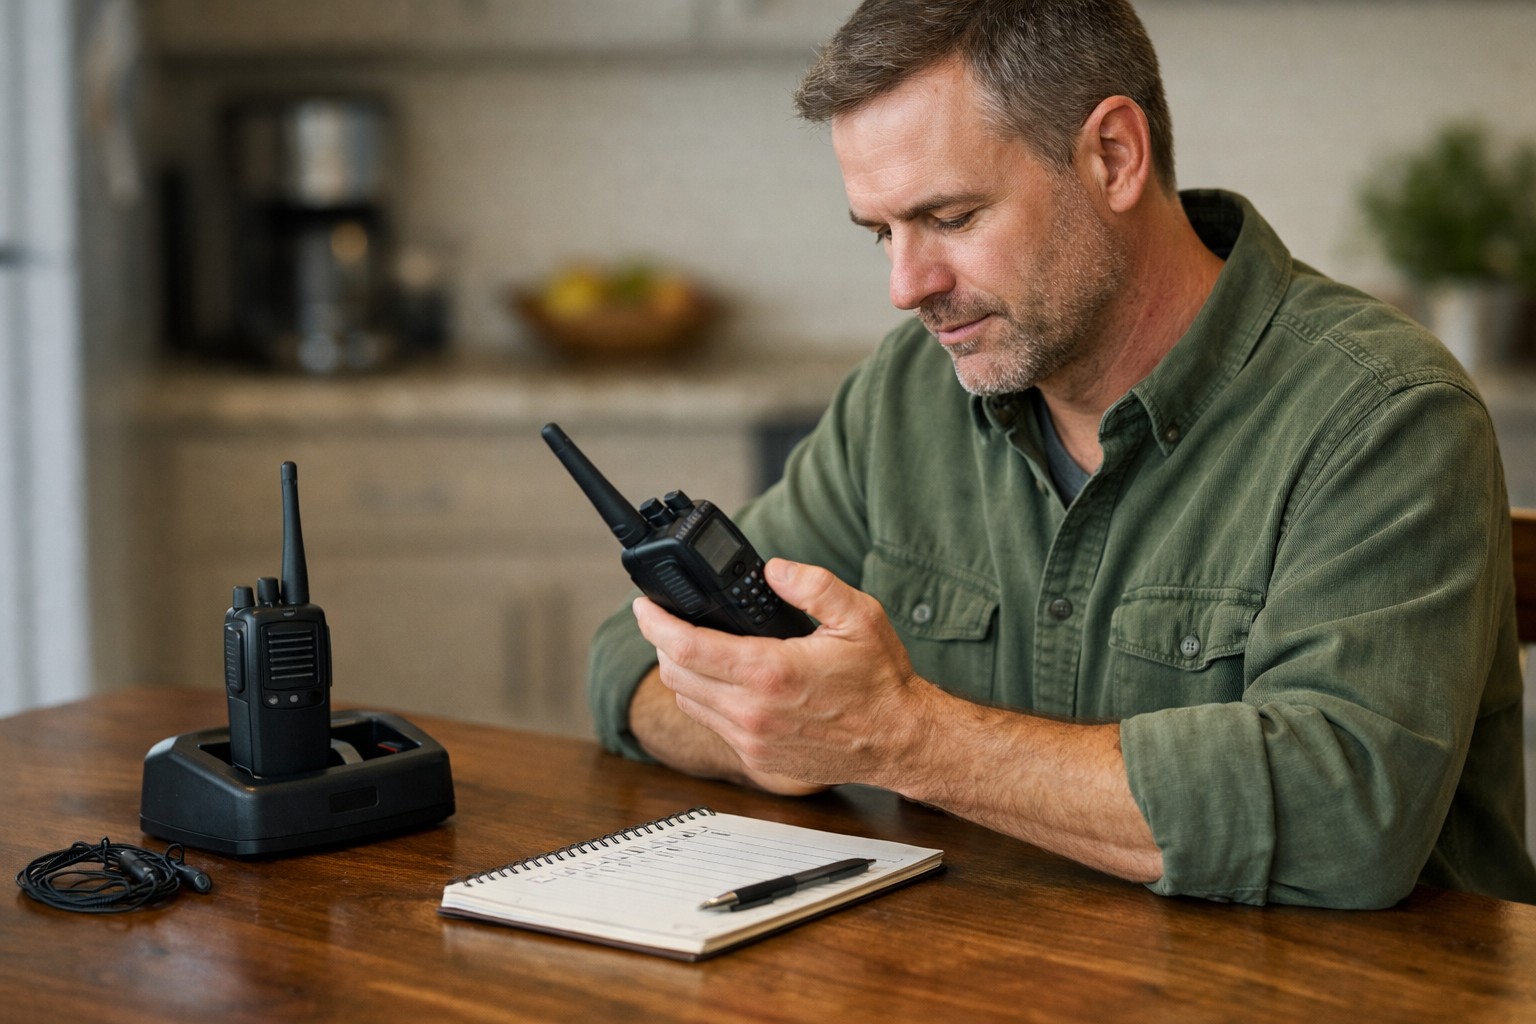
Perform a Basic Radio Check Call
A basic radio check confirms that another person can hear you clearly. Begin by pressing the push-to-talk button, pausing briefly, and then stating who you are calling followed by your identifier.
For example, say “Radio check, this is Base” or “Radio check, this is John.” Wait for a response before repeating the call. If no response is received, confirm that both radios are powered on and set to the same channel.
Confirm Signal Clarity and Volume
Once contact is established, confirm that the message is being received clearly. Ask the other person to report how well they can hear you, including clarity and volume.
If communication is unclear, adjust the radio position, move to a better location, or reduce background noise. Clear signal confirmation helps ensure reliable communication during actual use.
Verify Channel and Radio Settings
If a radio check fails, confirm that all radios are set to the same channel and that any privacy codes match. Even small differences in settings can prevent communication.
Also verify that volume levels are adequate and that the radio is not in a locked or scan mode. Checking these settings quickly can resolve most communication issues.
Test Range and Positioning
A successful radio check should include testing communication at different distances and locations. Signals can vary significantly depending on walls, terrain, and obstacles.
Have one person move to different areas of the home or property while maintaining contact. This helps identify where communication is reliable and where signal strength may be limited.
Establish a Regular Radio Check Routine
Regular radio checks help ensure that equipment remains functional and that everyone is familiar with its use. Simple routines, such as weekly or monthly check-ins, can prevent issues from going unnoticed.
Consistent testing also reinforces communication habits and ensures that radios are ready for use during emergencies. The goal is to make radio checks a normal part of your preparedness routine.
How This Fits Into Your Emergency Communication System
Radio checks are a key part of maintaining a reliable communication system. While equipment and communication habits are important, regular testing ensures that everything is functioning as expected.
When combined with proper radio use, clear communication etiquette, and a structured communication plan, routine radio checks help ensure that your household can communicate effectively during emergencies.